

I absolutely loved this desk when I saw it out the back of one of my vintage furniture haunts. It was originally an off, yellowed white. I had been looking for something that I could use as a desk when needed but also add a bit of colour. I tend to go for neutral colours in furniture and add colour in upholstery or cushions and it was time for change!
This isn't the first cane piece that I have painted, but it is definitely the most intricate.

Then came the painful part, Painting all the textured cane with a paintbrush! Eeeeeeekkkk. It took forever, as I had to use a combination of a stippling technique to get in the small crevices, then a regular brush technique to smooth.
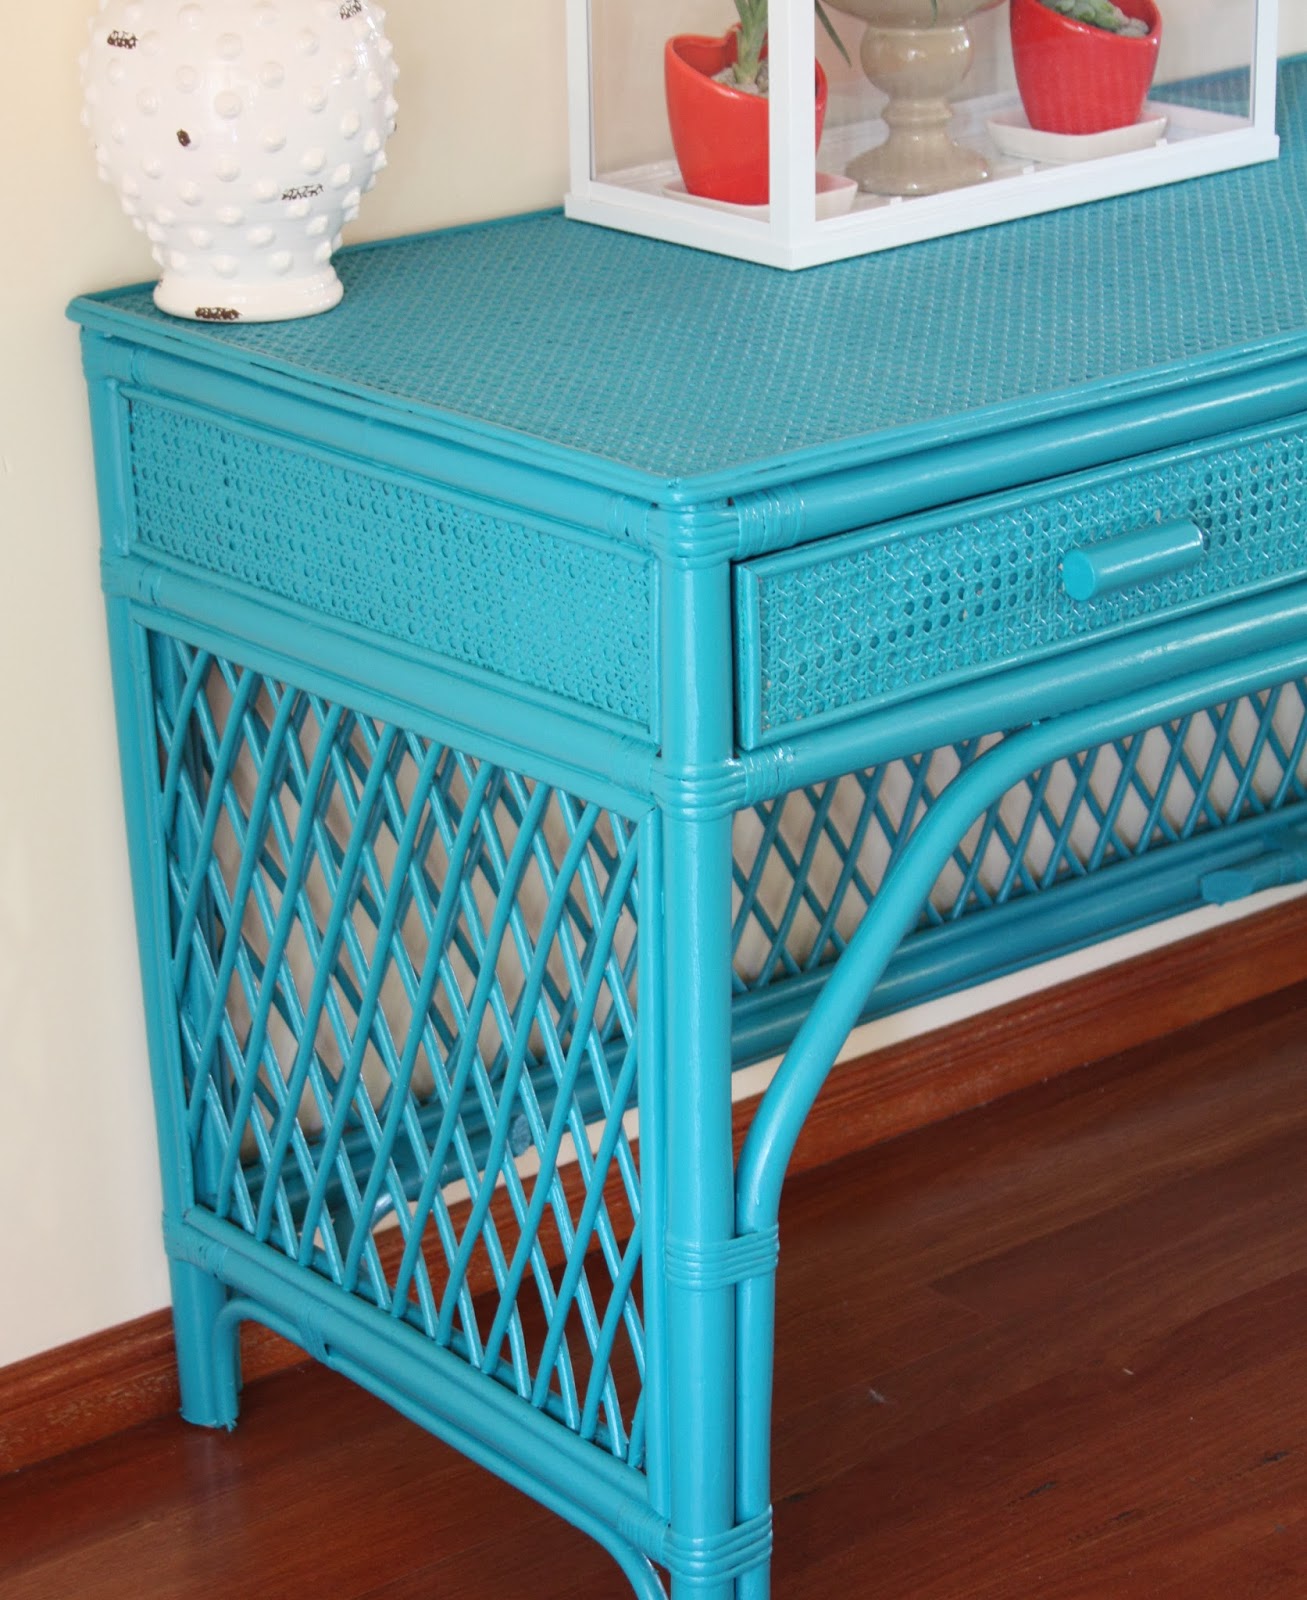
Then I painted the thicker cane pieces.

All in all I think this took me about 6 hours all up, there was a lot of waiting around waiting for one piece to dry so that I could turn it onto another side and get to a different angle.

Although it was a pain to paint, I love the result. It adds a splash of colour in a room of neutral furniture.
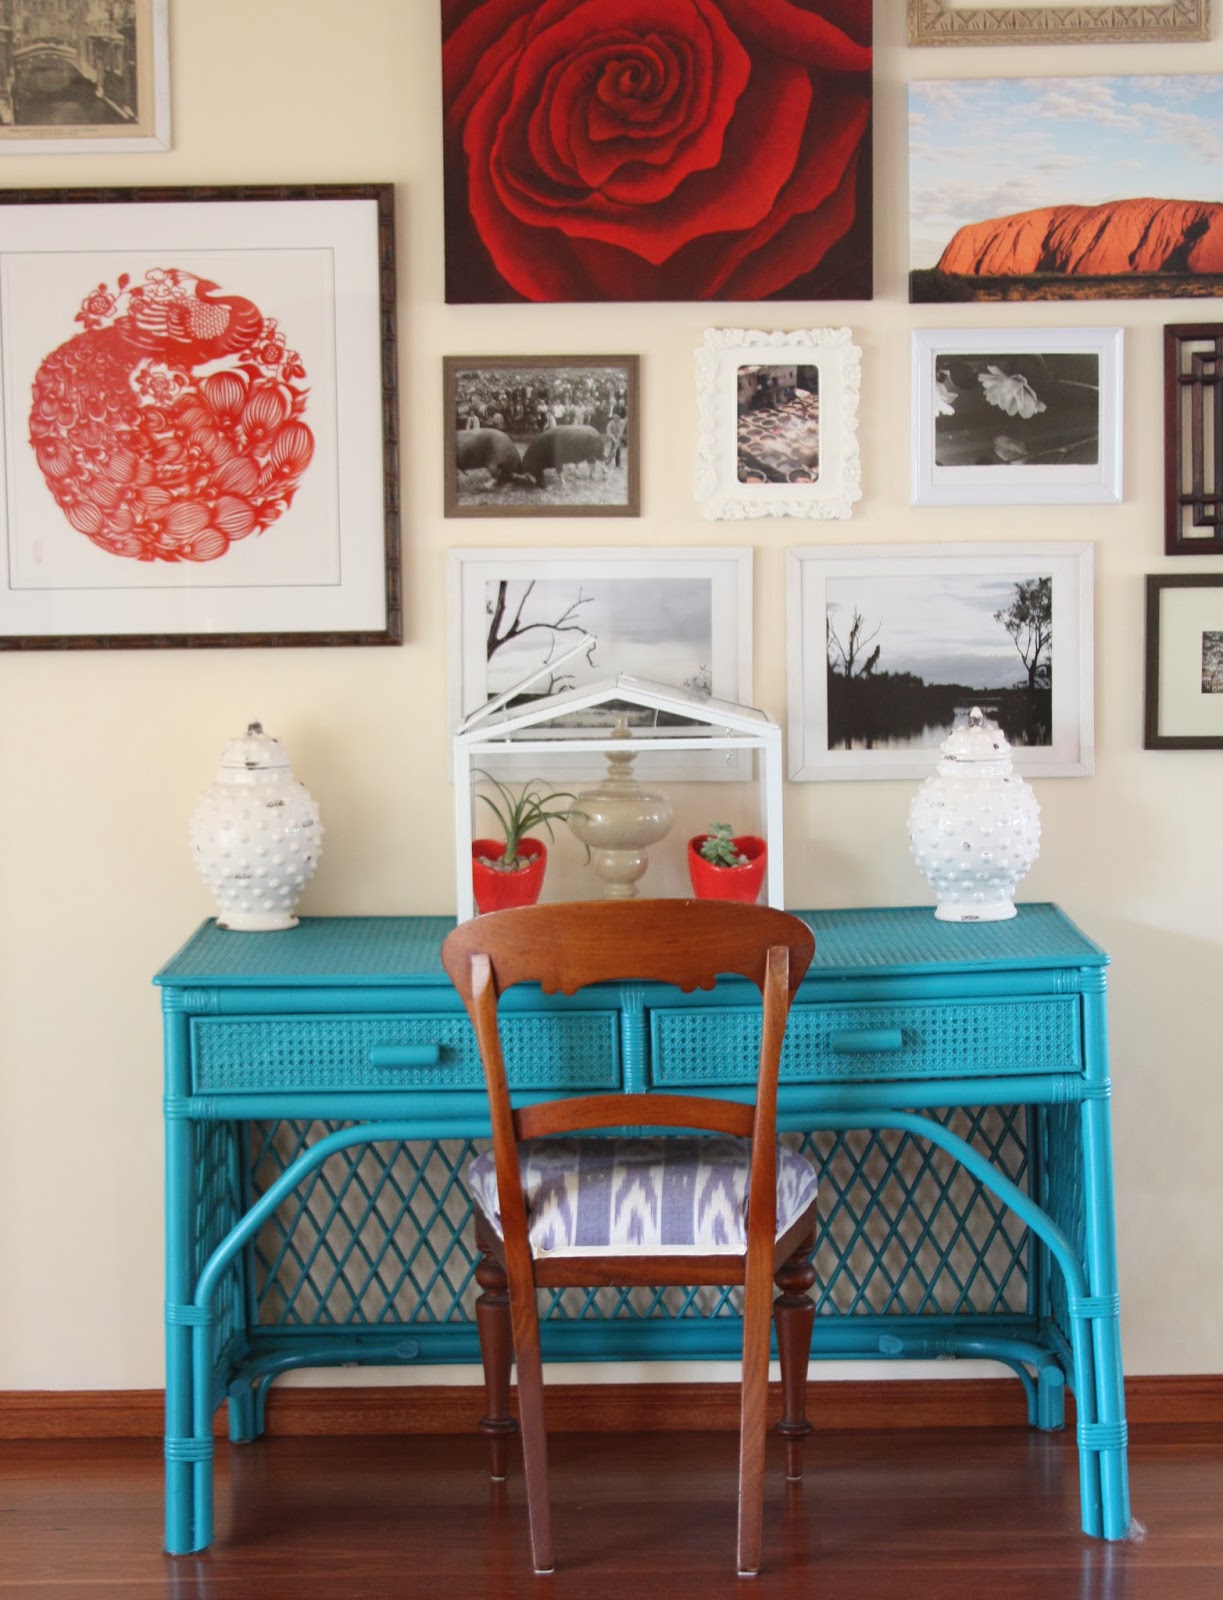
You may have noticed another design love of mine above the desk. . . . . a gallery wall. Love, love, love them. I like the refined gallery walls with all the same frames but alas my gallery walls never look that way.

For one, my frames are all very different, I have tried to keep them primarily black and white to give the wall a bit of a theme

To start this gallery wall I hung up one of my larger pieces a little off centre (the red paper cutting) and then hung the rose next to it and started surrounding them both with some smaller frames. I then went out horizontally from there.

As I rent, I make sure that I used 3M removeable velcro. Even when I own a home, I think I will continue to use these as it will make it easier to rearrange pieces as I want without having to refinish the walls.


No comments:
Post a Comment